Achieving good print is not always as easy as 1-2-3. There are thousands of variables in the flexographic print process that must work in harmony to create good print.
A very good print can turn into a terrible one in a matter of seconds if one variable isn’t optimal. But identifying a single variable can be difficult. Often, there are interactions between multiple variables that need to be accounted for.
Simple errors made in the plateroom can cause complex defects on press, transitioning the optimal plate to “no longer desirable” status. Understanding, catching and correcting these issues before the plate goes on press can save immense amounts of downtime and money.
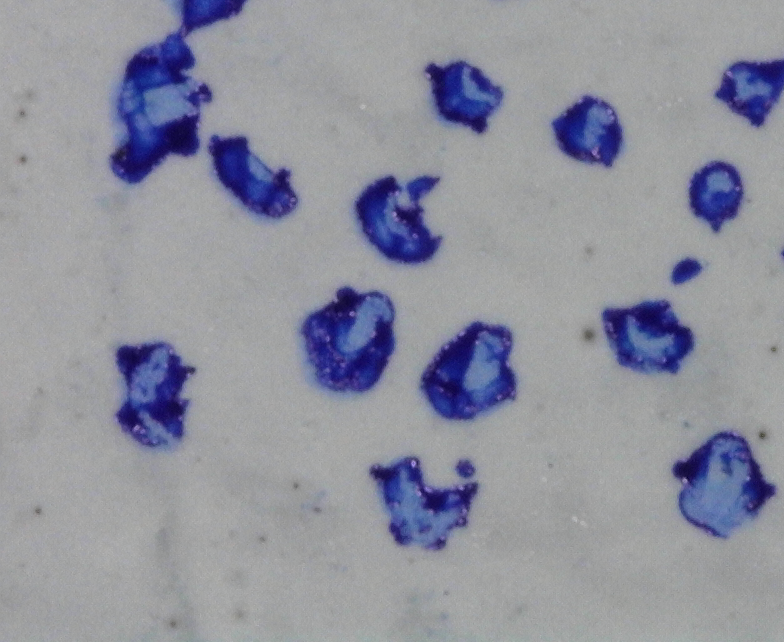
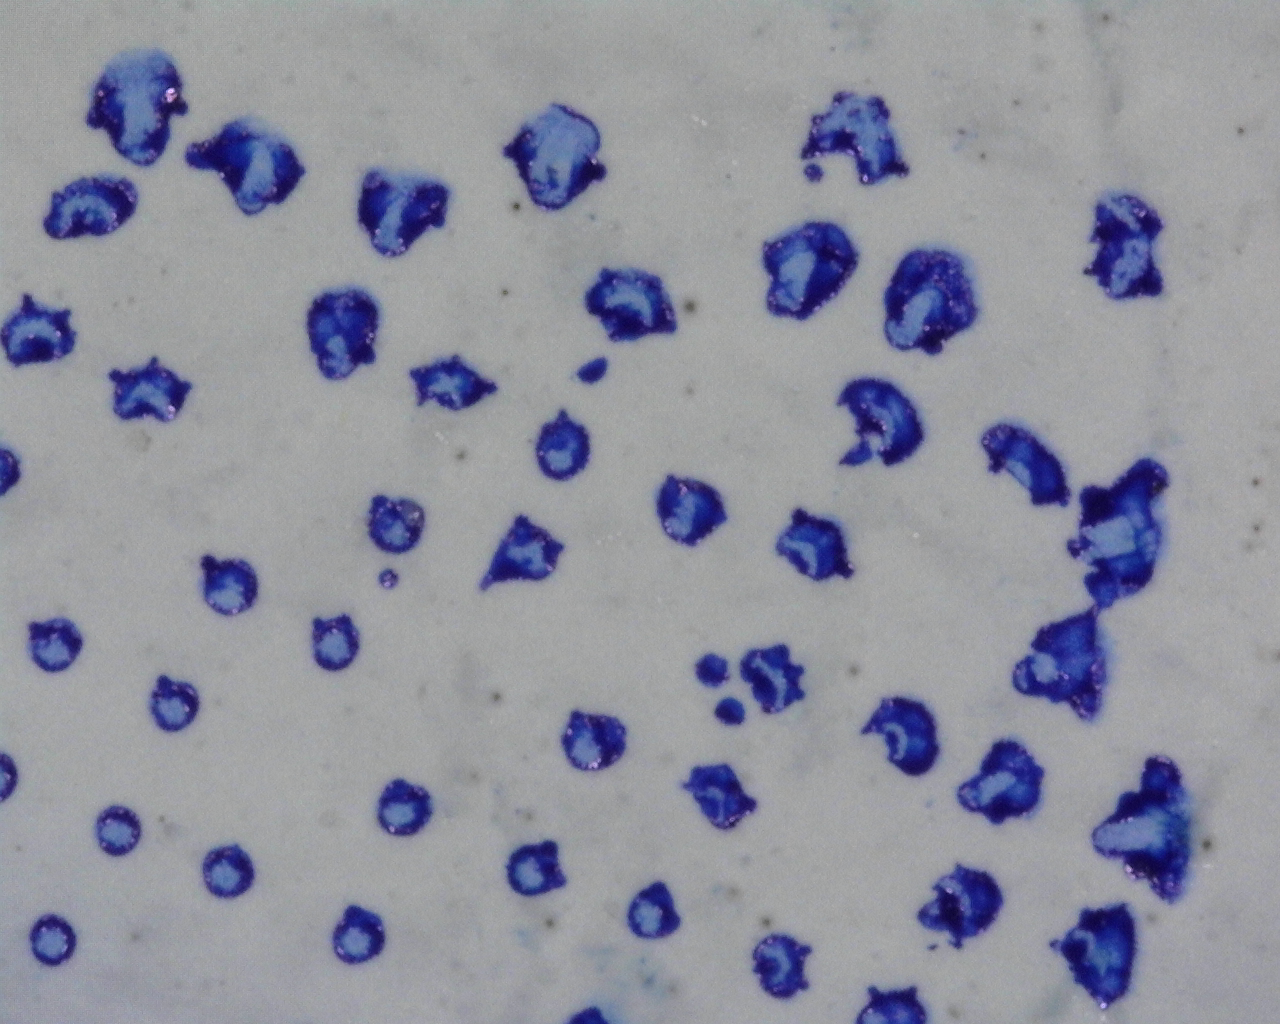
For example: Let’s address the claim, “There are unwanted ink blobs in the white space of my print. They are showing up near the fine lines and text.” (See Figure 1.)

All photos courtesy of DuPont Image Solutions

One of the leading causes of these “unwanted ink blobs” in the white space of the print is caused if the floor prints. Ultimately, this is caused by improper back exposure. The recommended relief for a 0.067-in. and 0.045-in. durometer plate is between 0.018-in. and 0.022-in. When the relief falls below 0.018-in., there is not enough distance between the floor of the plate and the raised image area.
If the plate has excessive back exposure, the floor of the plate is only a few micrometers lower than the raised image area of the plate. As a result, when the plate is printed (with slight over impression) some areas on the floor of the plate are printed as well. Excessive back exposure times can also cause highlight dots to print heavy and cause gradients, or transitions, to have a poor “fade to zero.”
In order to increase the distance between the floor and the image area, you need to decrease the UV-A applied to the plate. The easiest way to do this is by reducing the back exposure time. However, reducing the back exposure time drastically could cause a different print defect to arise.
Dirty Print
Here’s another claim: “My highlight dots look like blobs near the edges of the image area.” Blobs, or dirty print, on the edges of an image area (shown in Figure 2), can be attributed to several issues on press, or in the plate. One of the most common reasons is due to an unstable or leaning dot caused by insufficient back exposure. When not enough back exposure is applied to the plate (see Figure 3), the distance between the floor of the plate and the raised image area is too great. The small, isolated highlight dots do not have a substantial amount of support.
Under a microscope, these dots appear to be very thin, tall and leaning over (Figure 4). On press, these tall, unstable dots do fall over and the shoulder of the dot prints, causing dirty print or blobs on the edges of the image area. By increasing back exposure time, the floor of the plate is raised, creating a more stable minimum dot.
Insufficient back exposure (Figure 5) can also occur if the lamps are not warmed to required temperatures prior to back exposure. It is important to warm the lamps to the recommended temperature before back exposing the plate material.


Proper Relief
Another concern: “So, how do I know if I have proper plate relief before going on press?” Measuring with a calibrated micrometer is the most effective way of ensuring a proper plate relief. Stationary digital micrometers are the most reliable, but handheld devices can be used to give an estimate.
Achieving proper plate relief can be difficult and frustrating if not done properly. As mentioned previously, if there is too much back exposure, the floor could print and cause unwanted ink blobs in the print. But not enough could create leaning dots.
Performing a back exposure step test will help the plate maker achieve proper relief without using this trial and error method. Many plate manufacturers recommend performing a back exposure step test with every new batch of plate material. This ensures that the proper relief is selected before a plate goes to press. As a preventative measure, it is recommended that the output (measured in mW/cm2) of the lamps are measured weekly to biweekly. If the output has decreased significantly over time, replacement of the lamps will be needed.

Minimum Dot
What if someone says, “I fixed my back exposure times and I still have ink blobs or dirty print on the edges of image area, especially in my gradients or my fade to zero.” One of the most important variables in achieving good, clean print is selecting a proper minimum dot (Figure 6).
When the minimum dot is not properly selected, the dot will have a similar print defect to having insufficient main exposure (Figure 7). The small dots on the plate are unstable and are too small to hold proper structure on the plate.
A poorly selected minimum dot could cause the highlight dots to not form at all, creating a drop off in a fade to zero transition. On press, these small unstable dots lean over or shear off, causing dirty print or hard lines in the highlights. This can make the highlight areas of an image appear very dark, with little contrasting tones throughout.
Grayscale Target
Another concern: “How do I ensure I have the proper minimum dot?” Selecting a proper minimum dot should be done during press optimization using a single-color benchmark target. Single-color benchmark targets typically have a dot-fail target, minimum dot scale target, or grayscale target to help with the selection of a proper minimum dot. The minimum dot scale target on a finished plate can be analyzed on a light table using a 25x or 50x loupe, or on a plate reader.
When looking at the minimum dot target, the dot in the smallest tint scale patch is evaluated to determine if the dot is completely formed. If not, the second-smallest tint scale patch should be evaluated. Once the smallest stable dot is determined, the prepress operator should select a minimum dot one-to-two-times greater than the smallest stable dot.
This adds a safety factor, in case other variables in the plate making process change, such as lamp output. The finished benchmark plate should then be printed on press to verify the proper minimum dot has been selected. After the single-color benchmark has been evaluated, the prepress operator should apply a minimum dot bump curve to all files that use the selected plate material.

QC Strip
And one final question: “Should I check the min dot on every plate before going to press?” Measuring the minimum dot by using a QC strip (Figure 8) can be a good preventative measure to ensure plates have been properly made before heading to press.
For example, if a plate maker knows their 0.067-in plate material should have a minimum dot of 1.56, yet their plate minimum dot is not holding at 2.34, they may want to double check the plate was made properly before putting it on press.
The smallest defect in a plate making variable can have a ruinous effect on press. Simple tasks such as checking plate relief, checking lamp output, and ensuring the proper minimum dot can save a significant amount of money and downtime on press.
Ayers will present this information as part of Virtual Fall Conference 2020 in the session titled Evaluation, Optimization, Control: The Complete Plate Making Package. The event takes place October 5-7. Learn more and register at www.flexography.org/fall2020.
About the Author

